

・It can measure workpieces that are difficult to measure by adjusting the tool length with high precision (in microns).
・It identifies the cutting edge with 0.1μm precision.
Measures the cutting edge position of tool diameters up to φ0.01 with 0.1μm precision while the tool is rotating. Contact type for intuitive and easy handling!
Improves work efficiency when handling ultra-fine cutting tools, and improves productivity through stable processing precision.
[Features]
■Are you having trouble with the following?
✔︎ I want to reduce the effort required to correct tool length for small diameter tools of Φ0.1 mm or less
✔︎ I want to measure tool length while the cutting tool is rotating, in a state close to actual machining
✔︎ I want to manage z-axis accuracy to within ±2 μm
■ Installment Image
Installed inside MC machine (performing test using test machine)

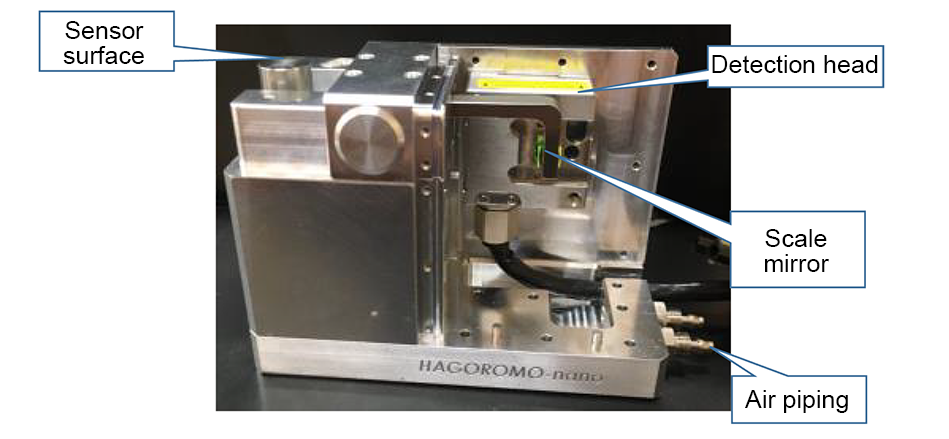
Explanation of each part name

Specification
| Body size | Width 60, height 70, length 105 (mm) |
|---|---|
| Air consumption | 0.3 Mpa |
| Weight: Approx | 0.2 kg |
| Power consumption | 100 V |


